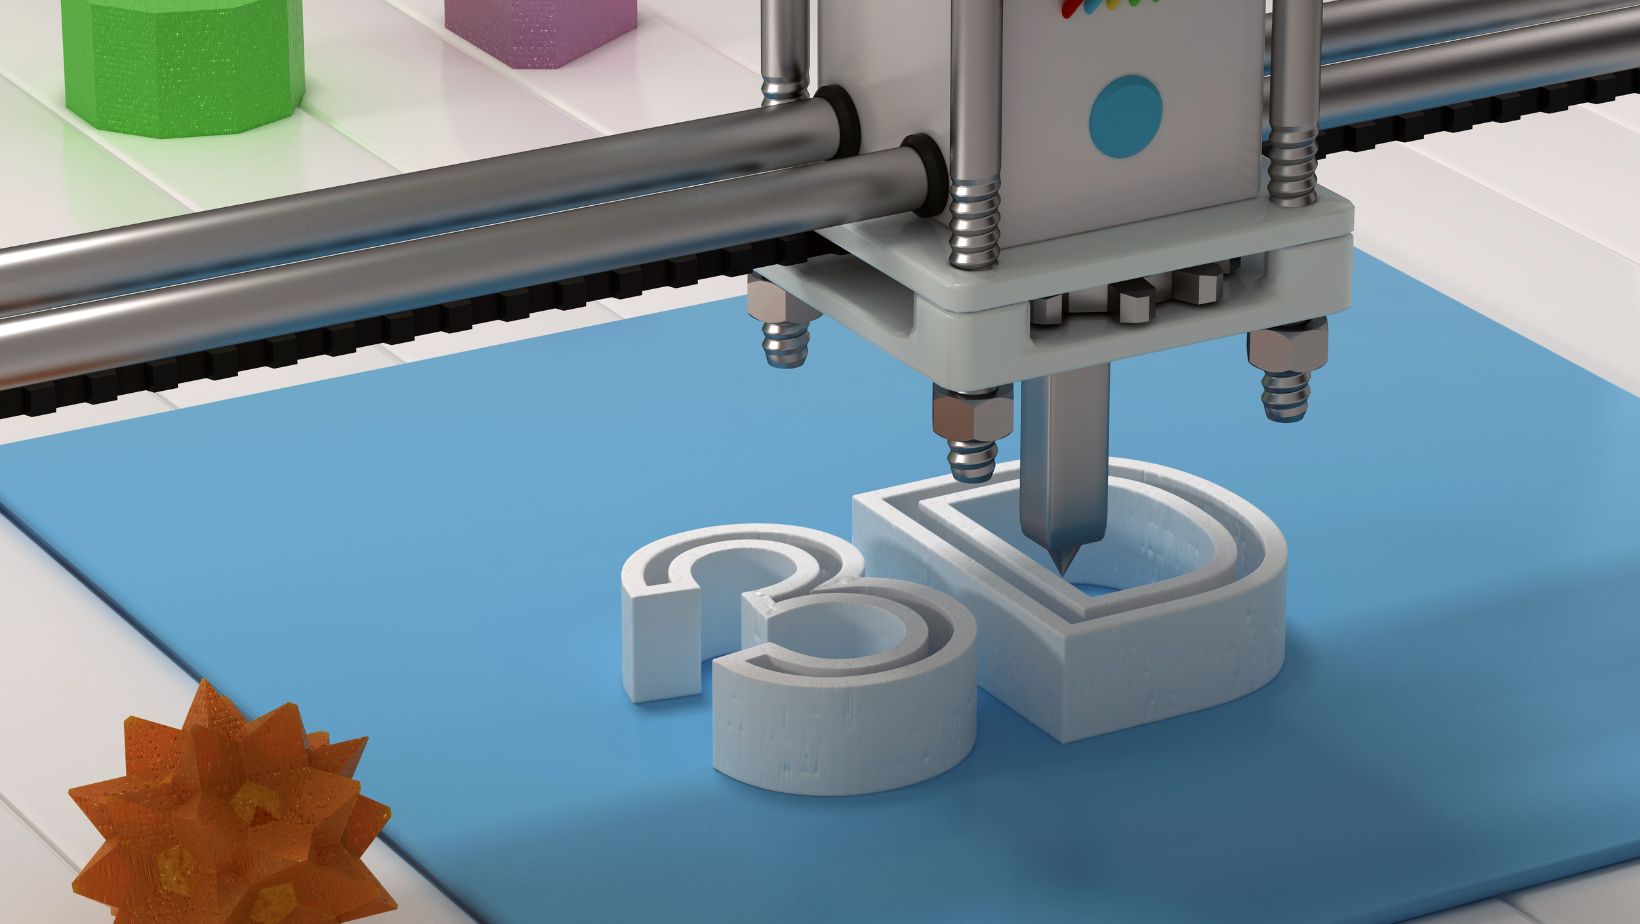
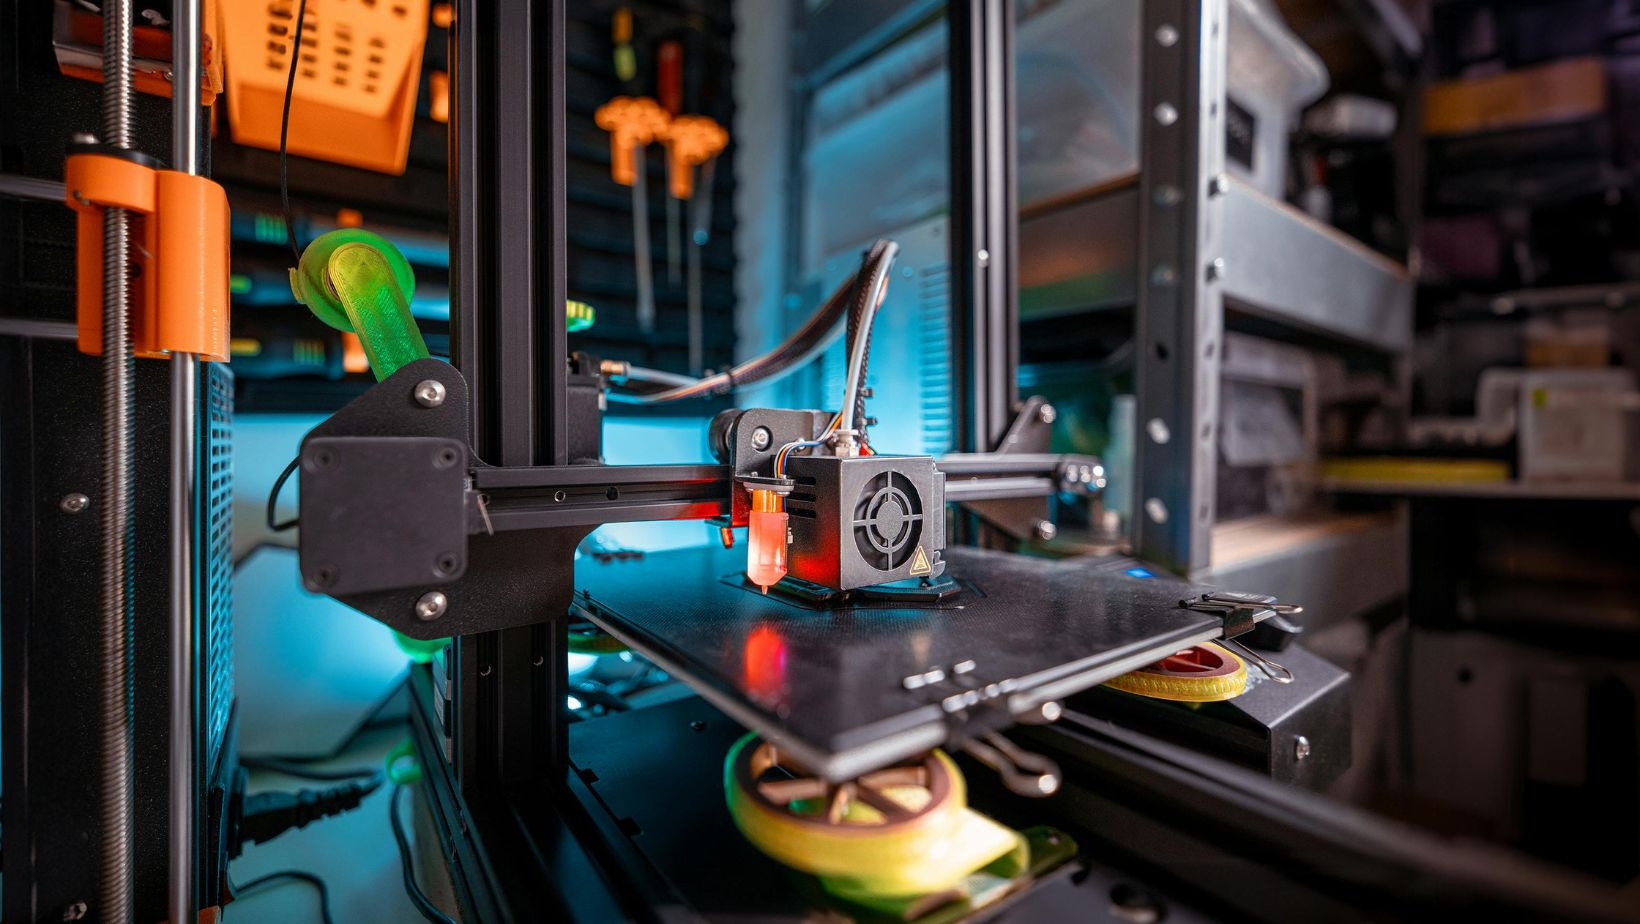
If you’re just catching onto the potential of 3D Printing, you’re not alone. Printing products quickly and locally…what’s not to like? But how do you create designs that a 3D printer will understand? Here’s all you need to know.
3D Printing can create tiny models, life-sized structures, and pretty much everything in the middle. This is technology that has sparked new avenues for platform innovation across industries. But the magic begins long before the printer starts its work. A well-thought-out design is crucial to unlocking the full potential of 3D Printing.
When you create designs to submit to 3D printing services, you essentially craft the blueprint that your printer will follow. This means you need to be precise yet imaginative, detail-oriented yet open to experimentation. It’s a delicate balance but one that can yield astonishing results when done right.
Here’s more about designing specifically for 3D Printing.
3D Design Software
Before you start designing, you need the right tools. 3D design software serves as your digital workshop. Programs like TinkerCAD, Fusion 360, and Blender offer platforms where you can sketch, sculpt, and refine your ideas in a virtual space. Each software comes with its strengths; TinkerCAD is user-friendly and great for beginners, while Fusion 360 offers advanced features for complex projects.
Once you choose your software, take time to familiarize yourself with its interface and capabilities. Tutorials and online courses can be invaluable at this stage. Understanding these tools will empower you to transform your visions into detailed designs that 3D printers can interpret.
Sketching the Blueprint
A great design starts with a great idea. Begin by sketching your concept on paper or digitally. This initial sketch serves as a guide, helping you visualize the final product and plan its dimensions and structure. Your sketch doesn’t have to be perfect, but it should convey the essence of your design, highlighting important features and proportions.

After sketching, consider the design’s functionality. What purpose will it serve? How will it interact with its environment? These questions will help you refine your design, ensuring it’s not just aesthetically pleasing but also functional.
Digital Models
With your sketch in hand, it’s time to create a digital model. This involves translating your two-dimensional sketch into a three-dimensional digital representation. Use your chosen software’s modeling tools to build the design layer by layer, adjusting angles, curves, and dimensions along the way.
During this process, pay attention to details like wall thickness, support structures, and overhangs. These elements are crucial for a successful print. Too thin a wall can lead to structural weaknesses, while inadequate supports might cause parts of your design to collapse during Printing.
Optimizing for 3D Printing
To ensure your design is 3D printer-ready, you’ll need to optimize it for the specific printer and material you plan to use. Different printers and materials have varying capabilities and limitations, which can affect your design’s outcome. For instance, a design intended for a plastic filament printer may require different considerations than one for a resin-based printer.
Check your design’s printability using the software’s analysis tools. These features can help identify potential issues, such as unsupported overhangs or areas that might warp. By addressing these concerns early, you can save time and material during the printing process.
Knowing About File Formats
Once your design is ready, it’s time to export it to a file format that your 3D printer can understand. The most common format for 3D Printing is STL (stereolithography). This format represents the surface geometry of your design without including color or texture details.
Ensure your file is correctly exported by checking the model’s scale and orientation. A simple mistake here could lead to a print that’s too small, too large, or awkwardly positioned. Double-checking these settings will help you avoid costly misprints.
Prototyping and Iteration
Your first creation from a 3D printer is likely to be a prototype. Creating a prototype is an essential step in the design process. A prototype allows you to see your design in physical form, offering insights that aren’t always visible on a screen. Use this opportunity to assess the design’s functionality, aesthetics, and overall performance.

Don’t be afraid to iterate. Make adjustments based on your observations, refining the design until it meets your expectations. Prototyping and iteration are crucial for achieving the best possible outcome, turning good designs into great ones.
Adding the Finishing Touches
Once your design is finalized, it’s time to prepare it for real-life printing. This involves slicing the model into cross-sectional layers, a process handled by slicing software like Cura or PrusaSlicer. These programs convert your design into G-code, the language understood by 3D printers.
Configure the slicer’s settings to match your printer and material specifications. Consider factors such as layer height, print speed, and infill density, as these will influence the quality and durability of the final print. With the right settings, your printer can reproduce even the most intricate details accurately.
Troubleshooting Common Issues
Even the most meticulously designed models can encounter issues during Printing. Common problems include warping, layer shifting, and poor adhesion. Understanding these challenges and knowing how to address them is crucial.
For instance, ensuring proper bed leveling and maintaining the correct temperature settings can prevent warping. To tackle layer shifting, check for mechanical obstructions and ensure the printer’s belts are properly tensioned. By troubleshooting effectively, you can minimize wasted time and material.
Designing for 3D Printing is both an art and a science. You need to understand the nuances of 3D design software, optimize for printability, and iterate through prototypes. And then you have the tools to transform your innovative ideas into reality!